The Backstory
My first foray into web development was when my dad introduced me to Wix sometime around Grade 4, and although I don’t have any records of what I built at that time, I can assure you the flash-based site with a bright orange background was truly a relic of the era. (RIP Flash)
In Grade 7, I learned about the basics of HTML and CSS, and have been coding and making websites ever since. (Yes, I feel old when I remember that I learned CSS before tools like Flexbox and CSS Grid existed)
Sometime I decided that it would be beneficial to put these skills to good use and build a personal website, but I didn’t know how to take a collection of files from my local computer that looked and worked like a website, and actually put them in a place where anyone could access them. To me, it all seemed radically overcomplicated - everything I came across was mentioning things like putting the files on a server, port forwarding, making sure you have a static IP, controlling what ports you have open, and it is safe to say that I quickly became overwhelmed.
At a loss, this is when I turned to Wordpress, which after watching a few videos, seemed like exactly what I needed. I would be able to spin up a Linux server using a cloud hosting provider such as Linode or Vultr, run the Wordpress installer, and then simply focus on coding my custom theme.
Yet, I quickly started running into issues and limitations with Wordpress. I could feel that it was really designed for blogs, and that uses outside of that required some clunky workarounds. Additionally, I often felt ‘isolated’ from other more modern tools that I wanted to use, such as TailwindCSS.
Additionally, now that I had my foot in the door and was gaining a better understanding of how other CMS systems worked, rebuilding my site on a more ‘modern’ tech stack seemed much more appealing. This is when I decided to take the plunge and do what seemed to be the next step for developing frontend web interfaces - learning React.
Read More: Why I Rebuilt My Blog - COMING SOON
Part 1: Learning React
Before learning React, I decided that it would probably be best to brush up on my Javascript, but I quickly found that a lot of programming tutorials that explain a language lie on two extremes - they are either “this is a variable and this is how we can put it inside an if statement,” or they’re less tutorials and people just blazing through a complex project. Now, I’m certainly not saying that these videos do not have an entirely valid audience, but instead wishing that there was more content targetted at the middle ground - people who already know how to code in a different language, but want to know about the ‘special’ things that a language offers. (If anyone knows of a resource like this, please let me know about it.)
Ultimately, I was not able to find this content, so I decided to jump straight into the deep end, and go back if I came across any concepts which were confusing to me. It was now when I turned to my two favourite channels to learn programming concepts: Fireship.io and Traversy Media.
I began by watching Fireship’s 100 seconds of React Video, which I like because it gave me a high level understanding of how React worked:
Once I had finished this, I moved onto Brad Traversy’s video, which I tend to watch first at 2x or 3x speed to get the general idea, and then watch again following along myself where I stop and pause if needed.
Part 2: Designing the Interface
As I learned from the first time I built my website, figuring out what you want your user interface to look like beforehand is of paramount importance. Thus, before I could begin coding, I took to using my iPad and notability in order to begin creating a mockup. I had a pretty good idea of what I wanted the site to look like beforehand, so there wasn’t as much brainstorming as I might otherwise.
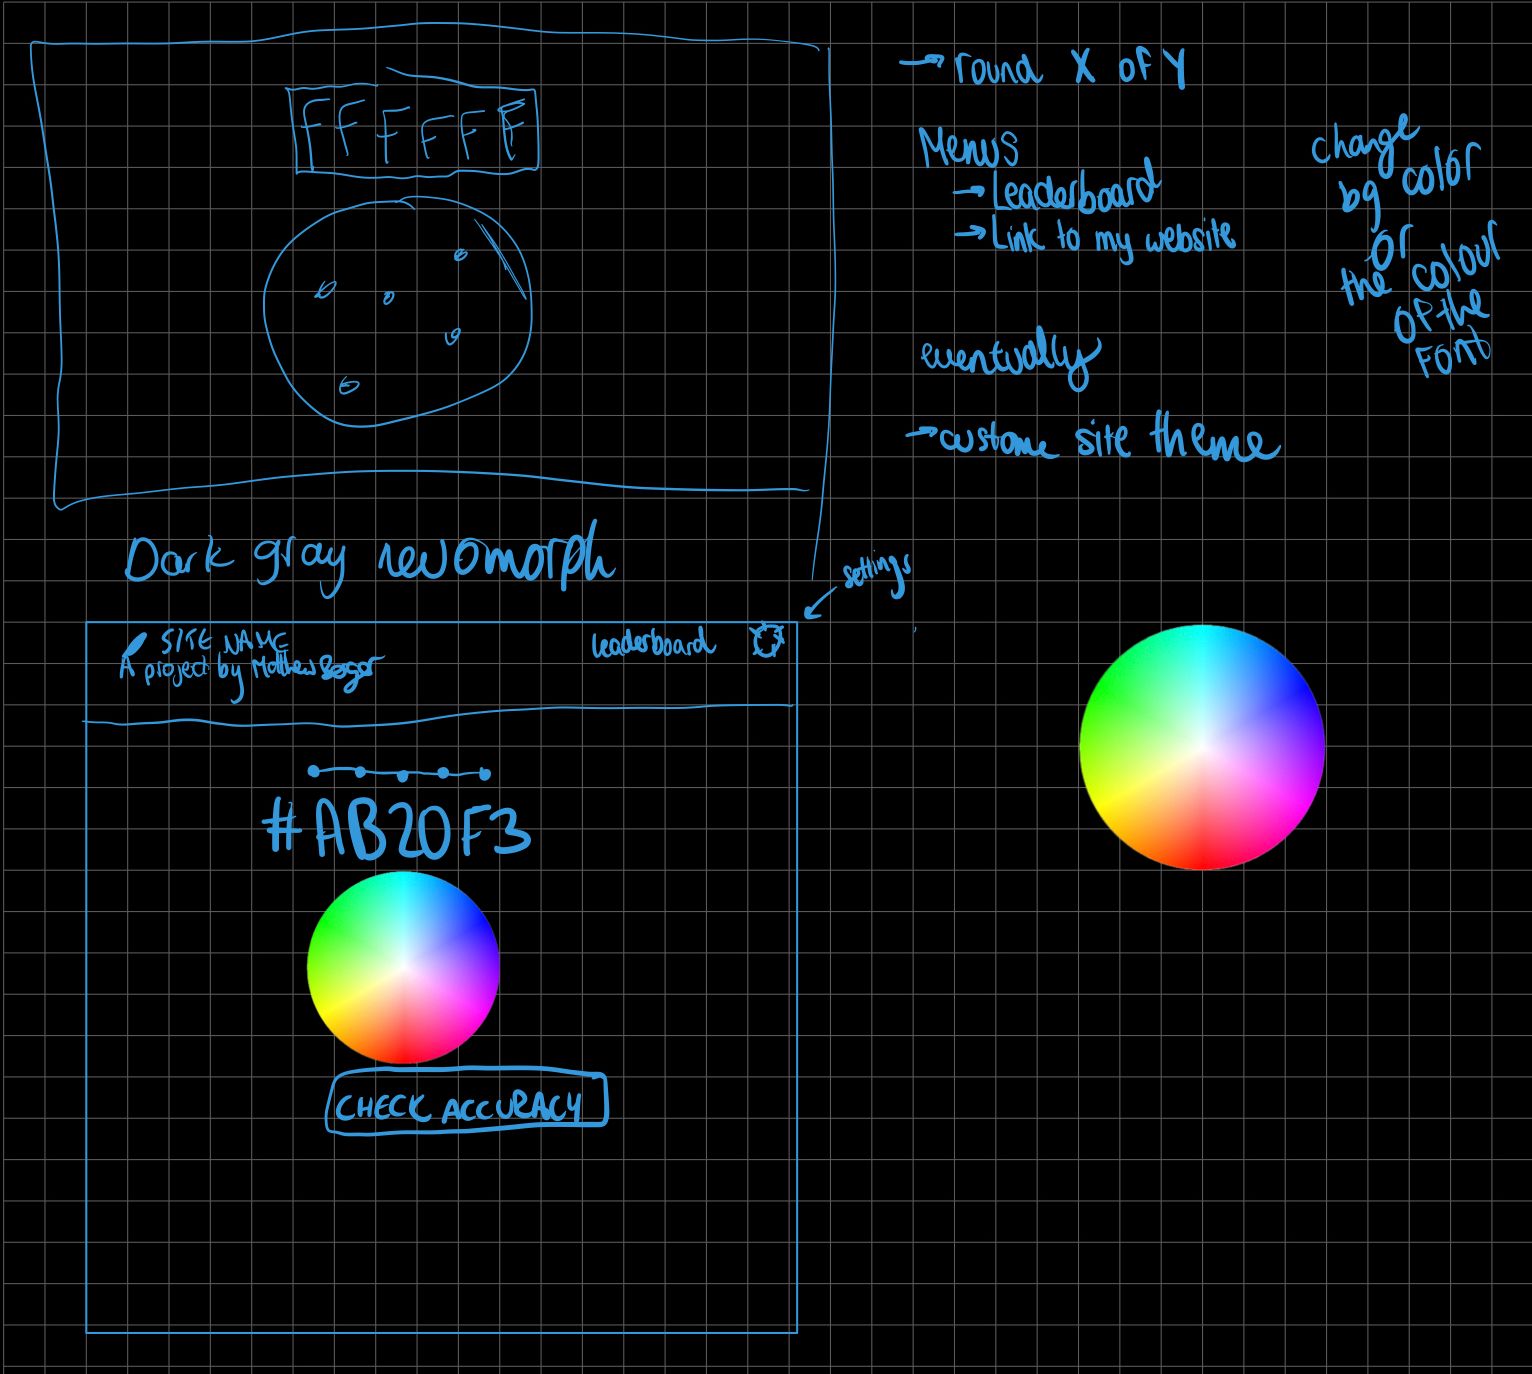
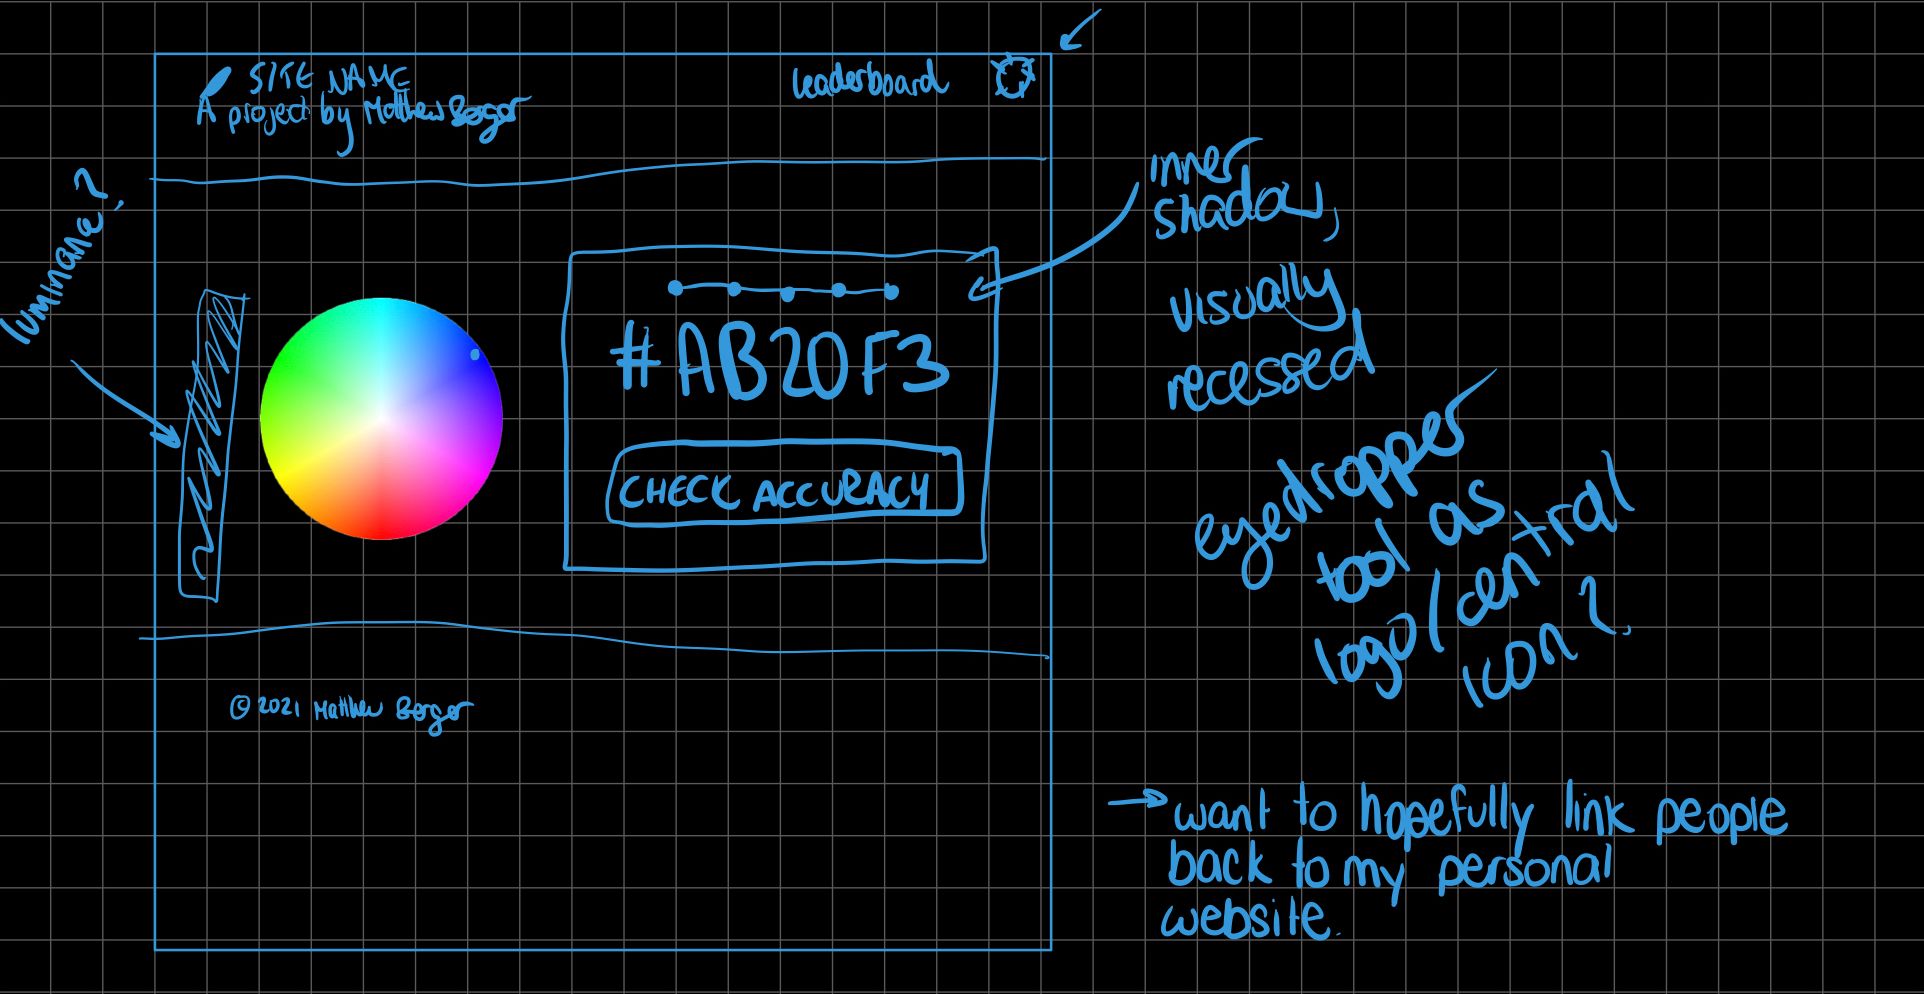
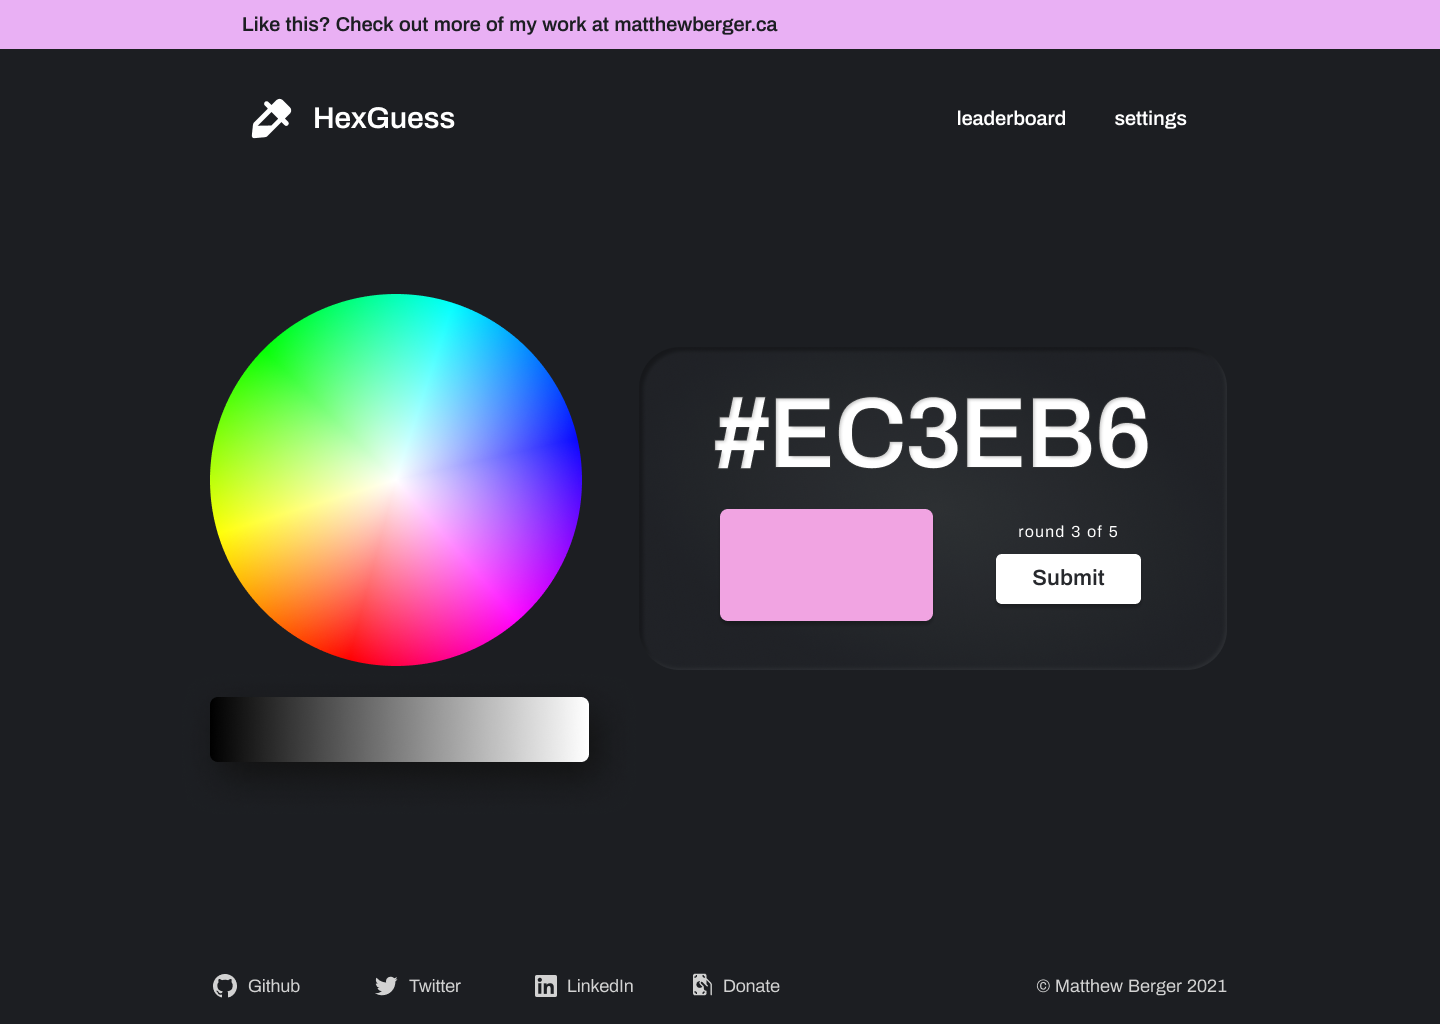
After this, I refined my ideas a bit more in Figma, and then it was time to start coding!
Part 3: Starting to Code
So, with a single npx create-react app, we were off to the races. I decided that the best way to approach things would be to create the user interface using TailwindCSS (which I was also using for the first time in this project), and then implement the interactivity afterwards. I was incredibly impressed with the ease of prototyping using Tailwind, and I highly recommend using it.
Once I was ready to begin adding interactivity, I went back to the video by Traversy media. Although we were building completely different projects, I often find the general structure during the beginning stages is often quite similar, which allows me to gain confidence in using the tool, and as the tutorial goes on, I find myself referencing the video less and less until I’m completely on my own.
Most of the interactivity was mostly straightforward, just generating the hex codes, and evaluating how close the user got to each of the respective colours. (If you want more specifics on how any of the code works, feel free to check out the source code on Github.) Although I recognize that this project doesn’t rank that highly in the complexity scale, it was intended to be more of a ‘dabble’ to learn the basics of React and the mindset behind using components, with the intention of ‘diving in’ more fully when using it to rebuild my personal website, as alluded to earlier.
One of the fun parts of this experience was using existing community npm packages, as although their installation process was easy, incorporating packages from other individuals to add functionality to my projects was not something I had ever done before. In this case, I used the react-colorful package to add the colour picker.
Part 4: Deploying
Since I was already using Github, it was pretty straightforward to deploy to Netlify. All I had to do was link my accounts, and deploy! Nothing much else to say here!
Conclusion
In conclusion, I enjoyed this project as a way to learn the React mindset, and feel prepared to use it in larger and more complex projects. Although the game itself might seem rather esoteric, (when are you really going to need to look at a hex code and know what colour that is), when I am learning a new technology, I often try to choose a different project from the one presented in any tutorial that I may be watching. Doing this forces me to ensure that I am actually grasping the underlying logic and methods behind a tool, instead of just copying what someone else has done line for line and not really understanding why the code works. Overall, I am happy with how my project turned out, and look forward to using these tools again in the future!
If you have any thoughts about this article, feel free to share them by tweeting me @itsmattberger on Twitter, and otherwise, until the next article!
🔗: http://hex-guesser.netlify.app
🖥️: https://github.com/bergermaestro/hex-guesser